Series: Getting Started with Project Achilles — Part 1 of 6
Difficulty: Beginner 🟢
TL;DR
Achilles has two parts: the platform (dashboard + server) and the agent (on every machine you want to validate)
This post covers the platform only; we install the agent in QS-02
Two options: Docker on your local machine (Option A, free) or a cloud VPS like DigitalOcean (Option B, ~$8/mo)
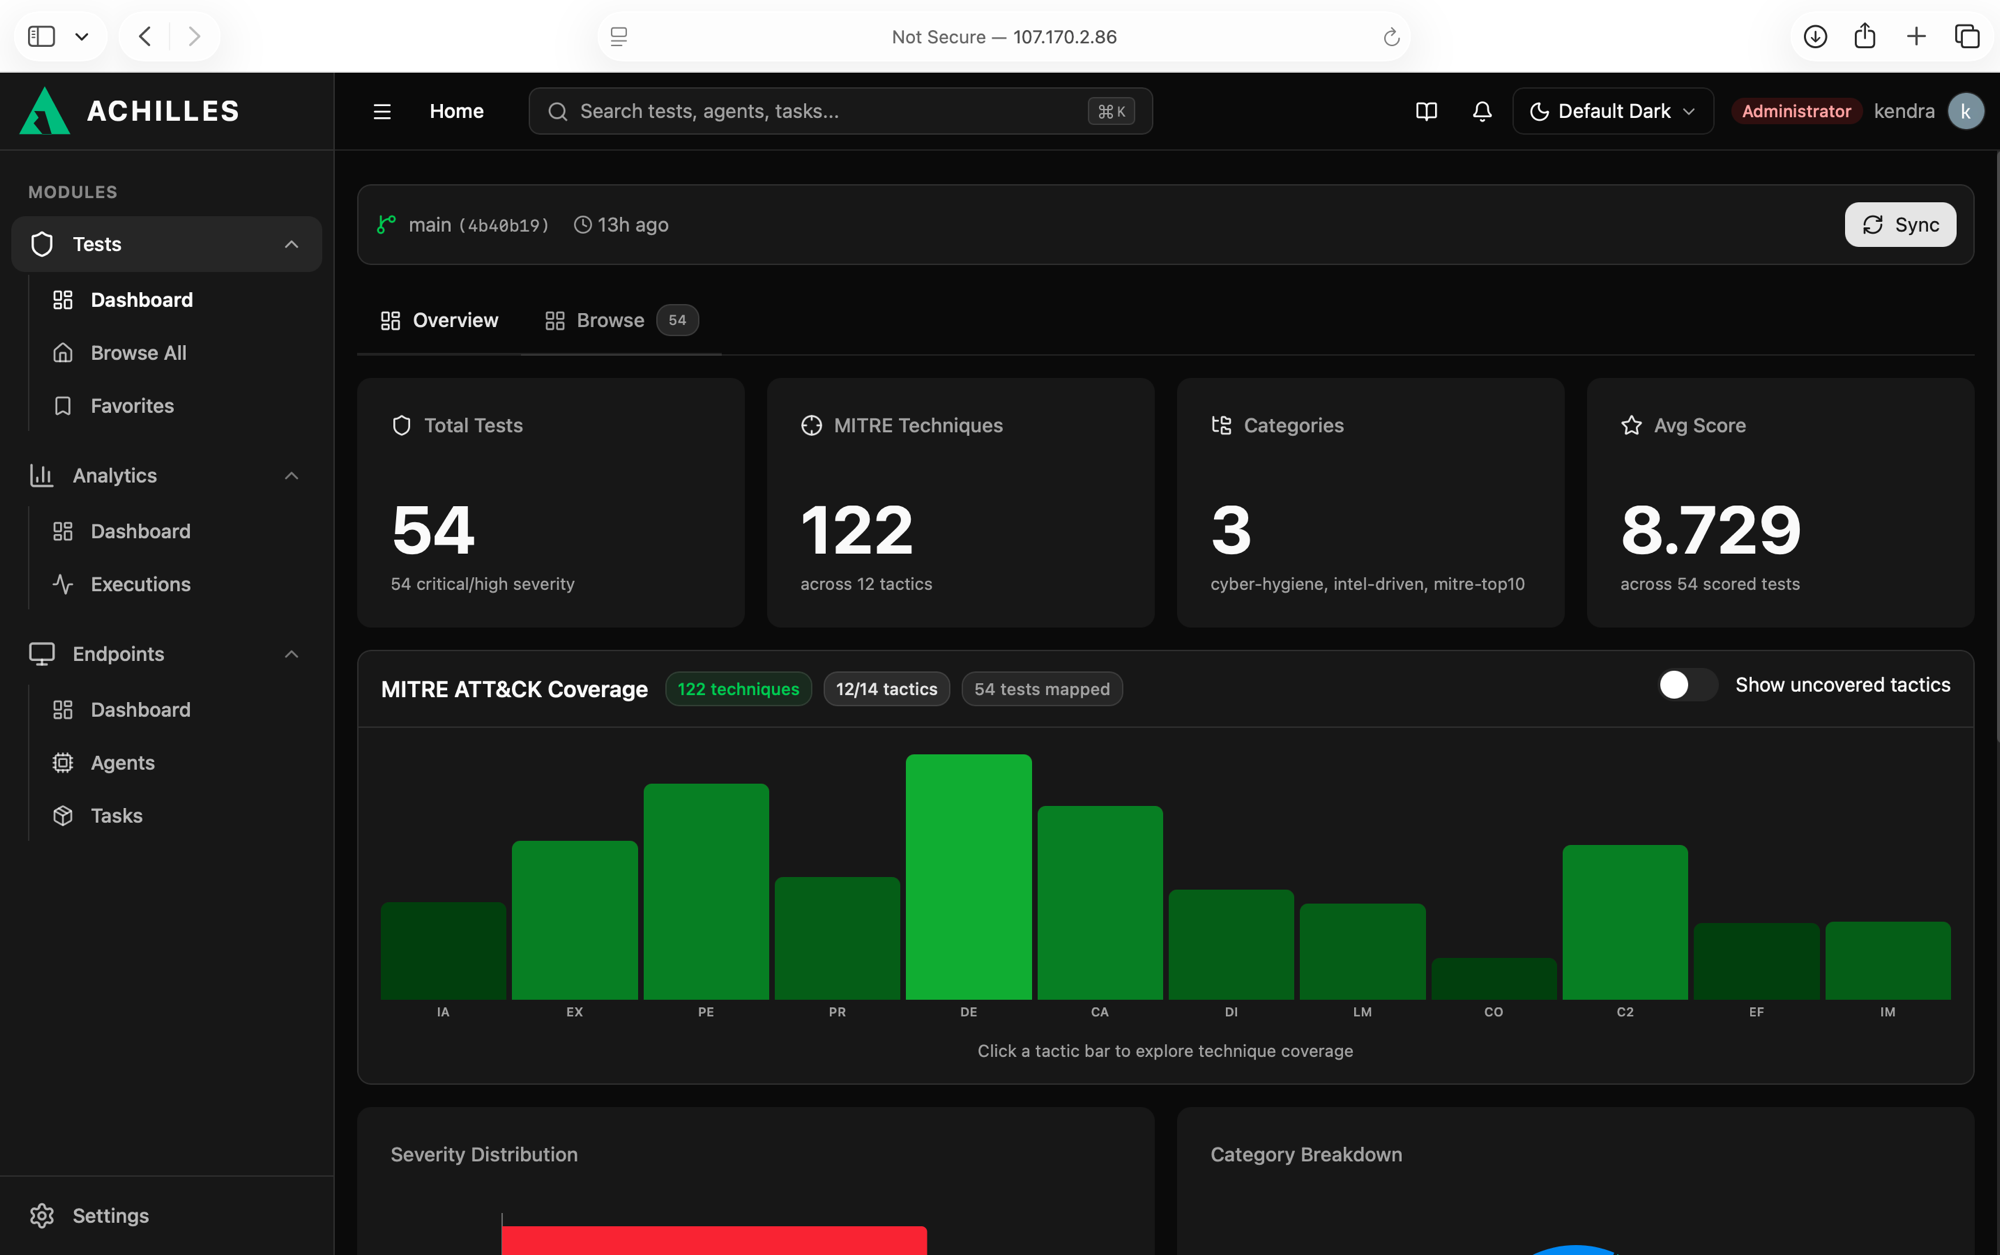
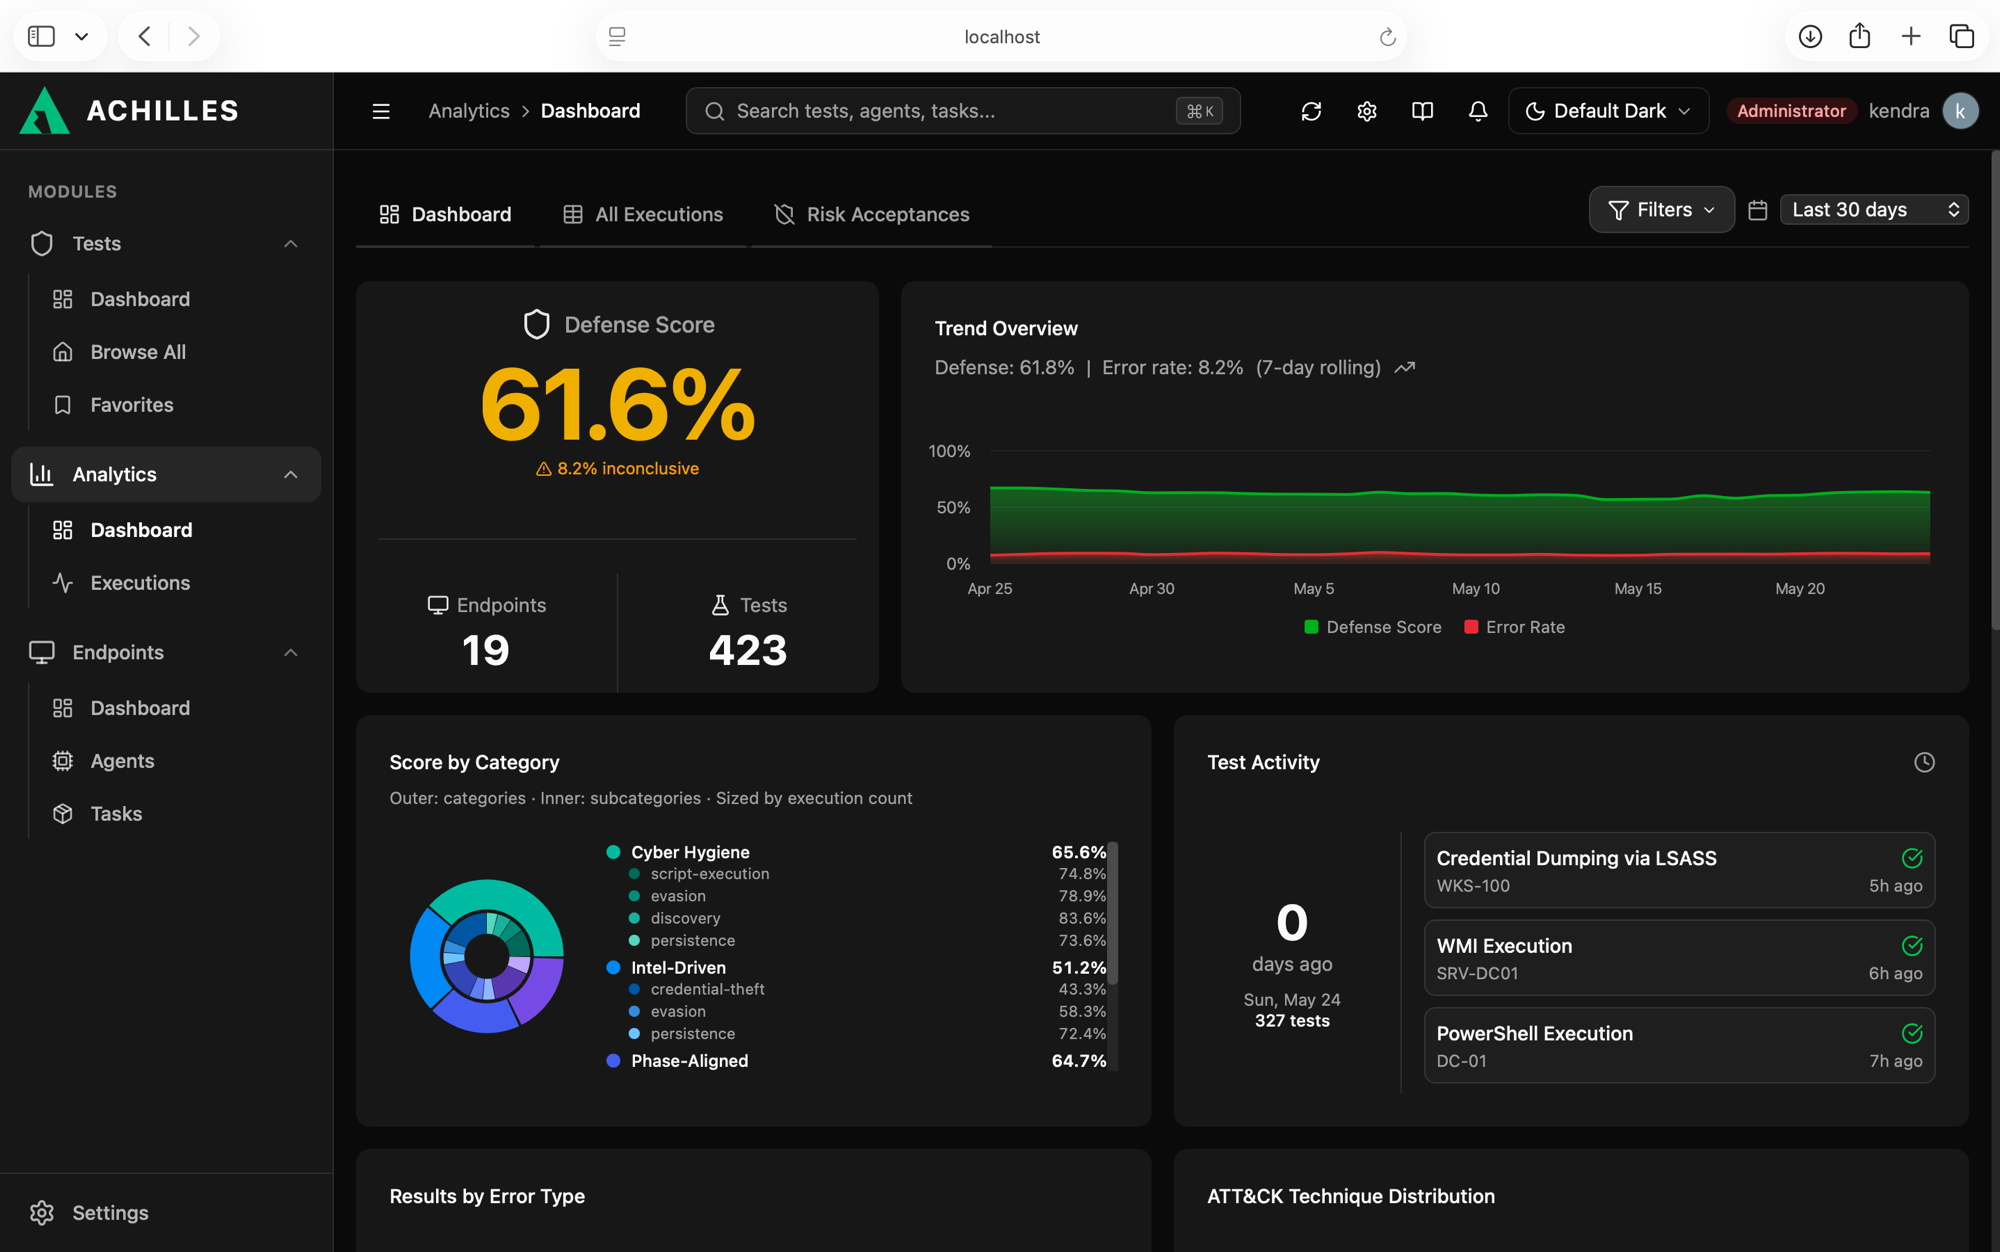
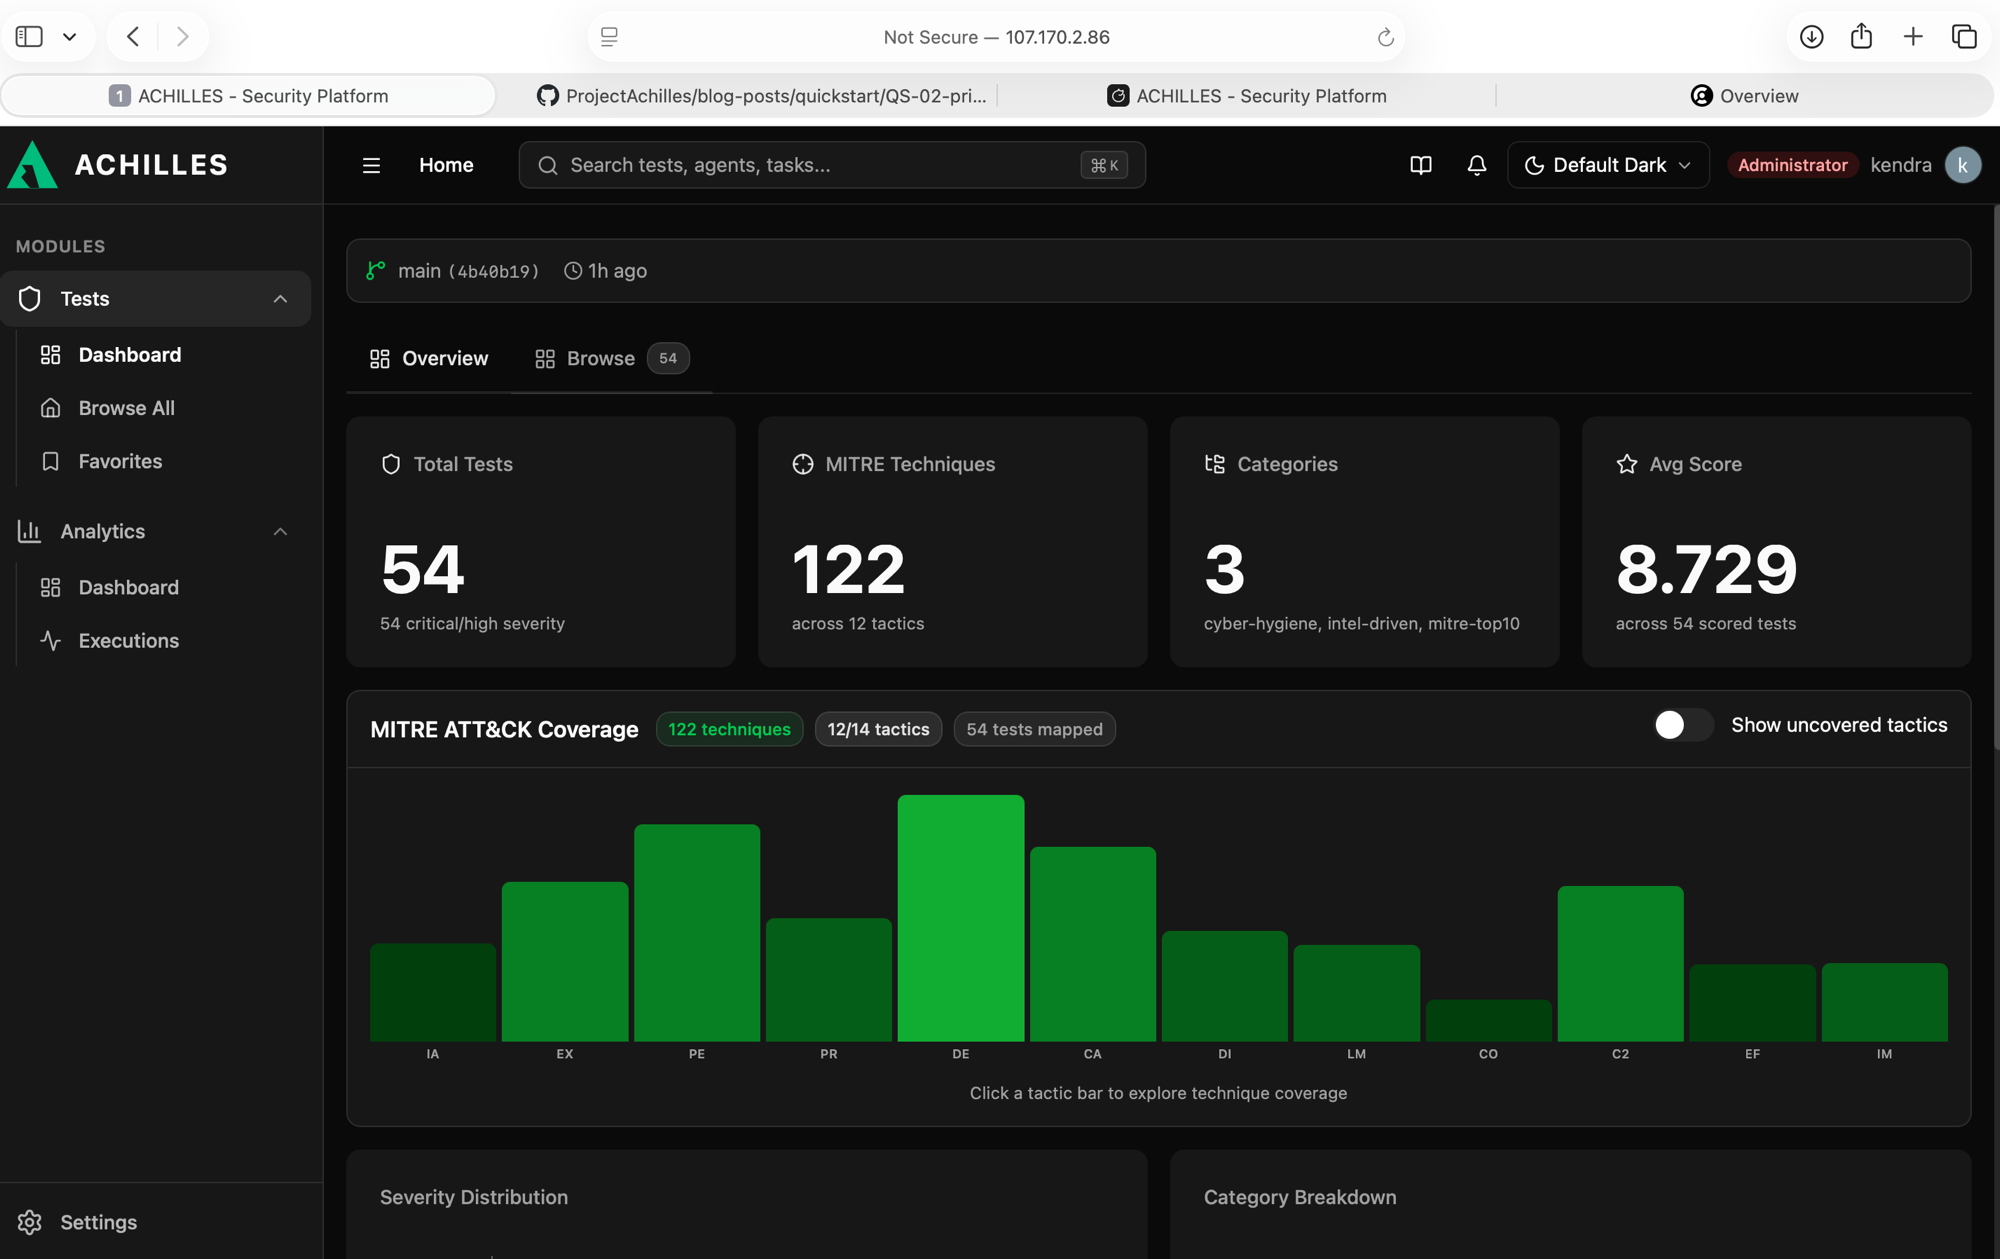
When you finish you will have the dashboard running with sample data
Estimated time: 30 min (local) or 40 min (DigitalOcean)
What You Are Going to Install
Achilles has two parts:
PART 1: The Achilles platform
→ The web dashboard you use to view results
→ The database where tests are stored
→ The server the agents connect to

PART 2: The agent (on every machine you want to monitor)
→ A small program (~8 MB)
→ Runs the attack simulations
→ Reports results back to the dashboard
First you install the platform. Then you install the agent on your machines.
Choose Your Platform Option
Option A: Self-hosted with Docker — Free 🐳
Who it's for: You want everything to stay on your infrastructure, or you don't want to pay.
Pros:
✅ Completely free
✅ All data stays on your network
✅ Full control

Cons:
→ You need a dedicated machine (it can be the same one where
   you install the agent if it's a test box)
→ You manage the updates
Minimum server requirements:
Operating system: Linux, macOS, or Windows with Docker Desktop
RAM: 2 GB minimum (4 GB recommended)
Disk: 10 GB free
Docker: version 24 or newer
Do you have Docker installed?
docker --version# Docker version 24.x.x — ✓ readydocker compose version# Docker Compose version v2.x.x — ✓ ready
Linux: use Docker's official script (installs the latest version):
curl -fsSL https://get.docker.com | sh
Option B: Cloud server (e.g. DigitalOcean) — ~$8/mo ☁️
Who it's for: You want the dashboard reachable from anywhere and agents able to connect from outside your local network.
Pros:
✅ Reachable from anywhere — a public URL for you and the agents
✅ Doesn't consume resources on your local machine
✅ Data stays on YOUR server, not a third party's

Cons:
→ Costs ~$8/mo (a basic DigitalOcean droplet or equivalent)
→ You manage the server (updates, backups)
→ Requires the same installation steps as the local option
How to start: Follow Section 1B of this post.
Note: Achilles is open-source; there is no "managed cloud" edition.
You install it, you control it. The cloud is simply where you choose to run it.
Section 1A: Install Locally (Docker on your own machine)
(If you chose Option B, DigitalOcean, skip to Section 1B)
If you don't have git: download the ZIP from GitHub → "Code" → "Download ZIP", extract it, and enter the folder.
Step 2: Create your Clerk account (free authentication)
Achilles uses Clerk for user login. You need to create a free app:
1. Go to https://clerk.com → "Start building for free"
2. Create an account (it's free)
3. Create a new application:
   Name: "Achilles"
   Sign in options: leave Email enabled (the rest are optional)
   → Enabling Google also works; it adds the
     "Continue with Google" button to the login
   → Password doesn't appear here; you can enable it later in the
     dashboard if you need it (email code works just as well)
4. Click "Create application"
5. In the Clerk dashboard → Configure → API Keys
6. Copy these two values:
   → Publishable key: pk_test_xxxxxxxxxx...
   → Secret key:      sk_test_xxxxxxxxxx...
Step 3: Configure the environment variables
The repo includes two example files (.env.example) that serve as templates. The cp command copies them under the name .env, which is the real file Achilles reads on startup. You need to create one for each part:
# For the server (backend) — this is where the Clerk keys, CORS, etc. gocp backend/.env.example backend/.env# For the frontend — Docker Compose reads it when building the containercp .env.example .env
The .env.example files are never modified — they are the template stored in the repo.
The .env files are your local copy with your real values, and they are in .gitignore so they never get pushed to GitHub.
Open backend/.env with nano backend/.env and change only these two values:
CORS_ORIGIN — you don't need to change it if you use Docker. Nginx serves the frontend on port 80 and proxies to the backend internally; the browser never calls port 3000 directly and CORS never kicks in. It only matters if you run Achilles outside Docker (development mode).
ENCRYPTION_SECRET and AGENT_SERVER_URL — leave them as they are. We adjust AGENT_SERVER_URL in QS-02 when we install the agent.
Open .env with nano .env and add your Clerk publishable key at the end of the file — the root .env.example doesn't include this field, you have to add it manually:
Why two files?backend/.env is read directly by the server. The root .env is read by Docker Compose on startup and passed to the frontend container. They are two separate configuration paths.
Step 4: Start everything
docker compose --profile elasticsearch up -d
Why --profile elasticsearch? Achilles stores test results in Elasticsearch — the Analytics module uses it to compute the Defense Score, the MITRE ATT&CK heatmap, and the trends. Without that flag only the backend and frontend start, and Analytics has no data. The profile also loads 1,000 sample results automatically.
Wait 1-2 minutes while the containers start. Verify everything is running:
docker compose ps# You should see:# achilles-backend Up 0.0.0.0:3000->3000/tcp# achilles-frontend Up 0.0.0.0:80->80/tcp# elasticsearch Up 0.0.0.0:9200->9200/tcp
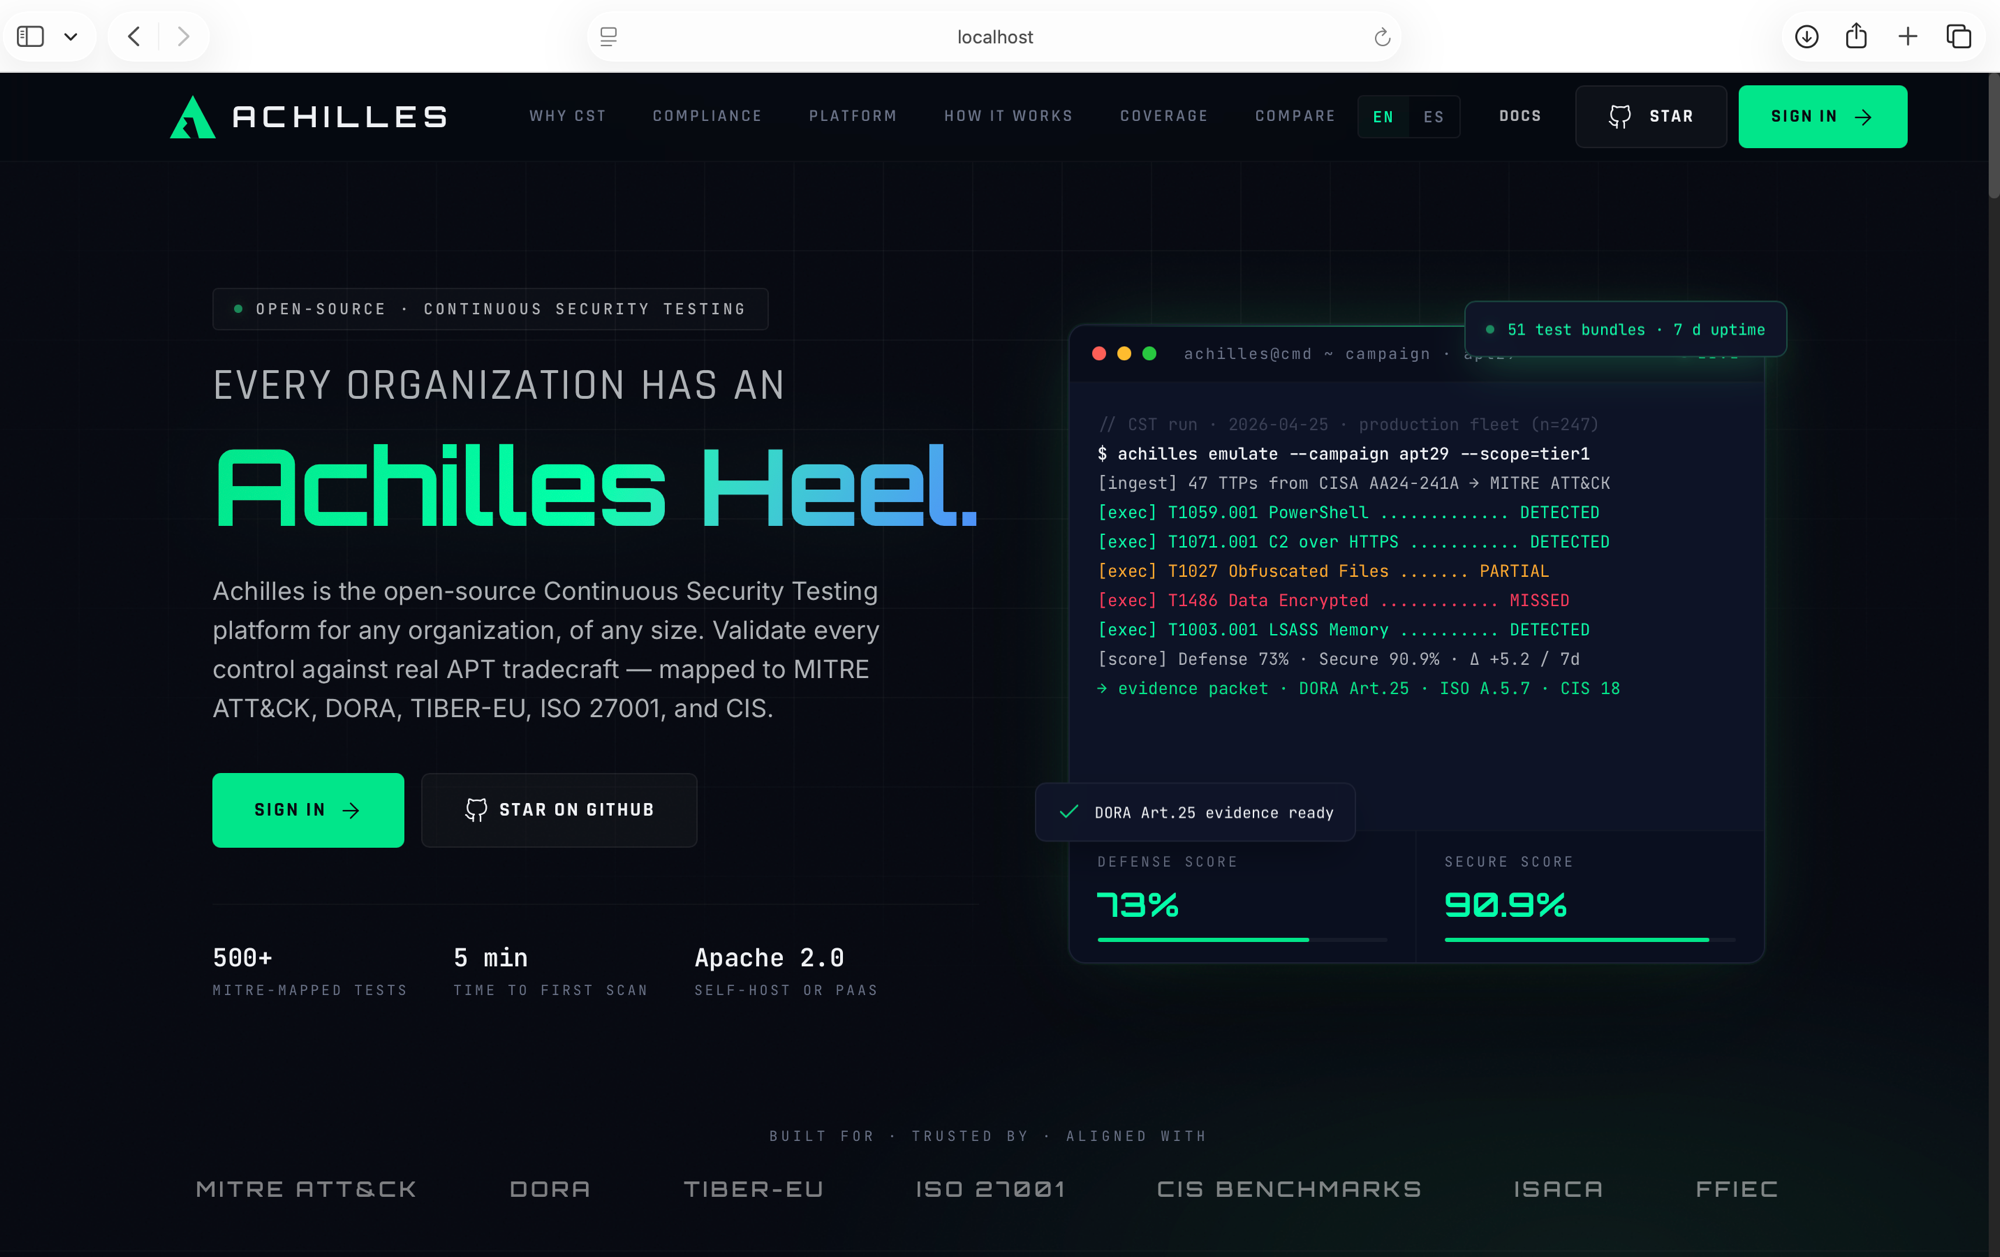
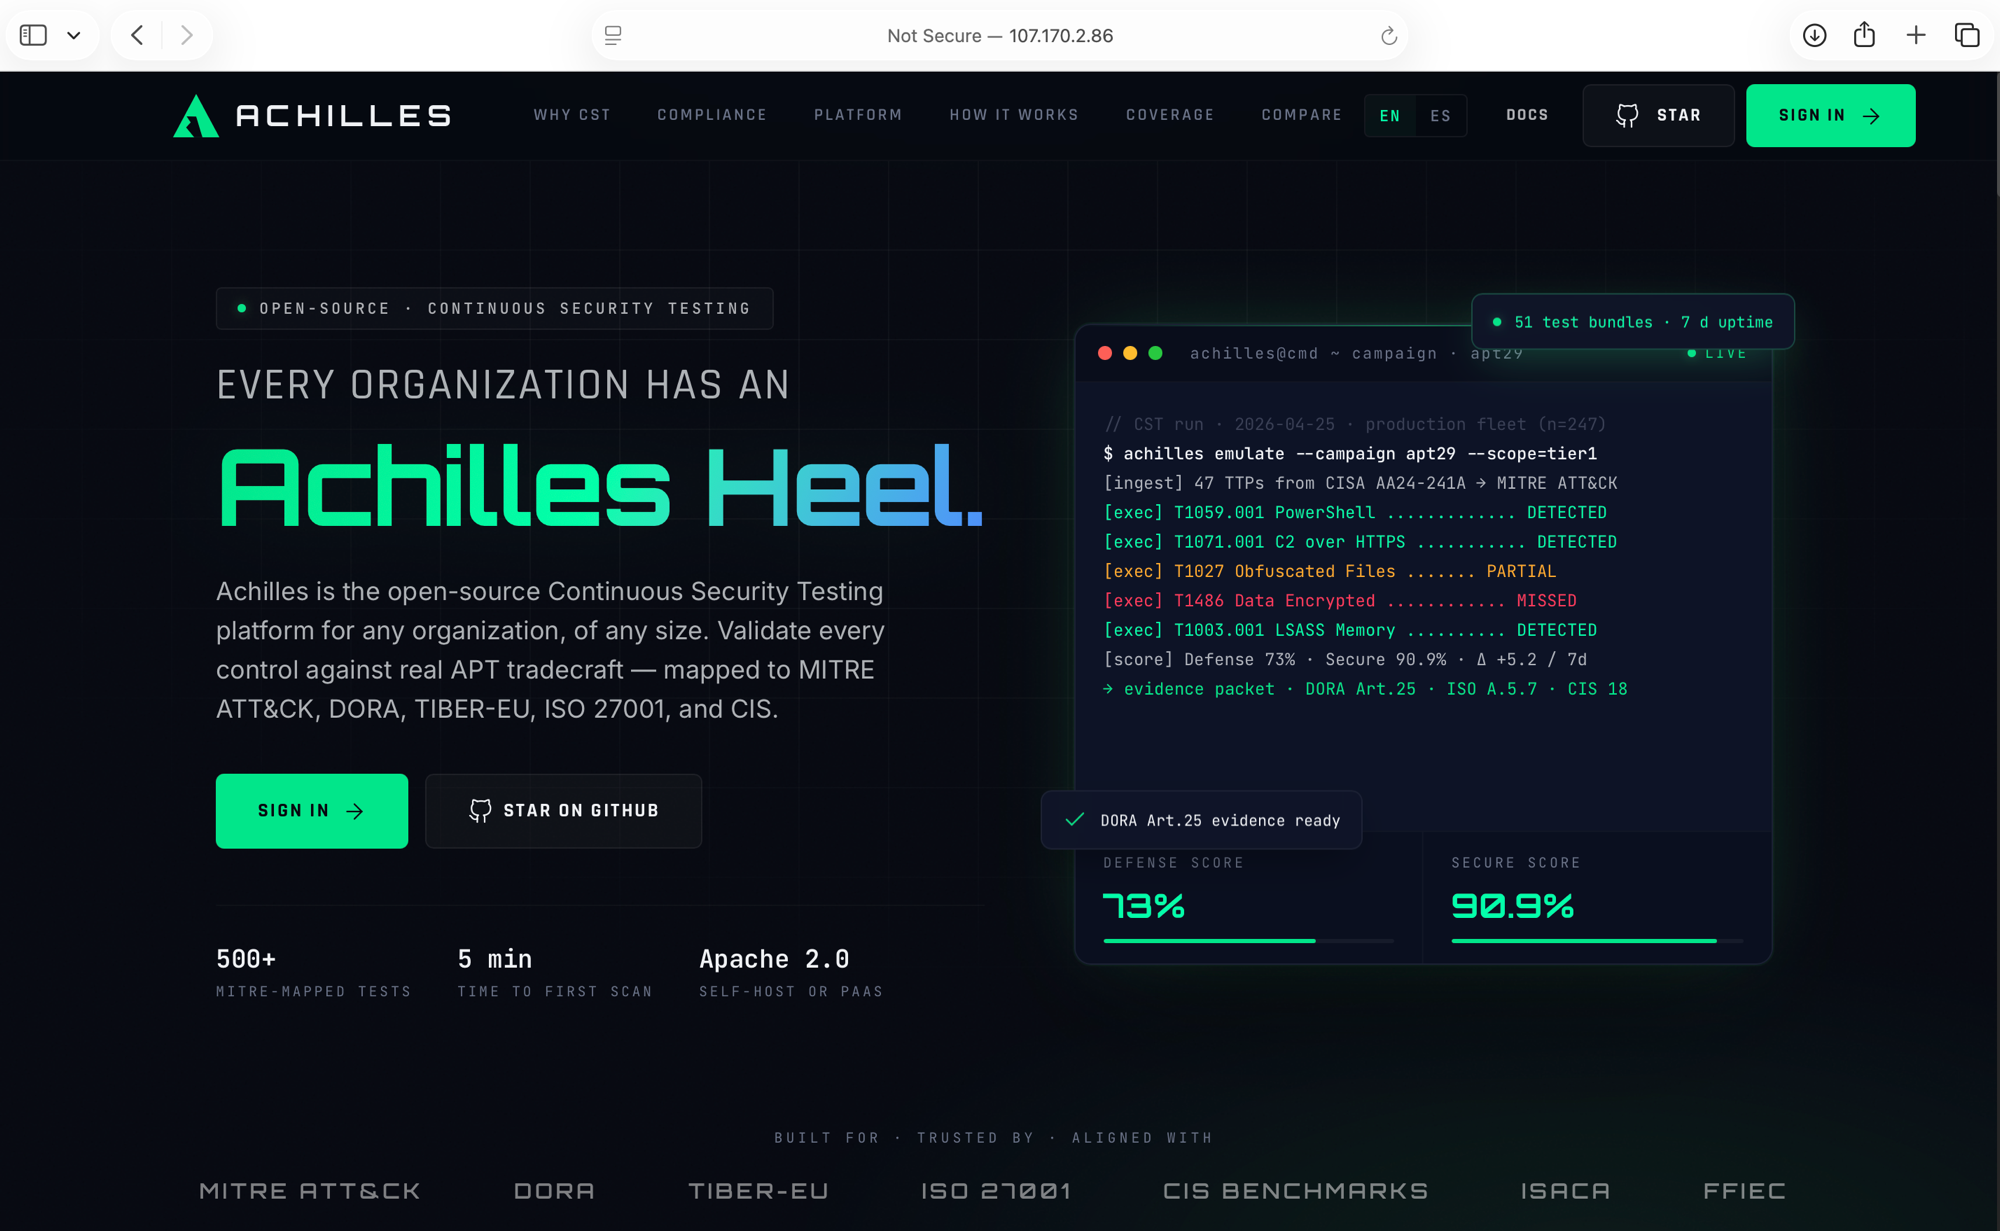
You will see the Achilles landing page. Click SIGN IN (top right or in the middle of the page).
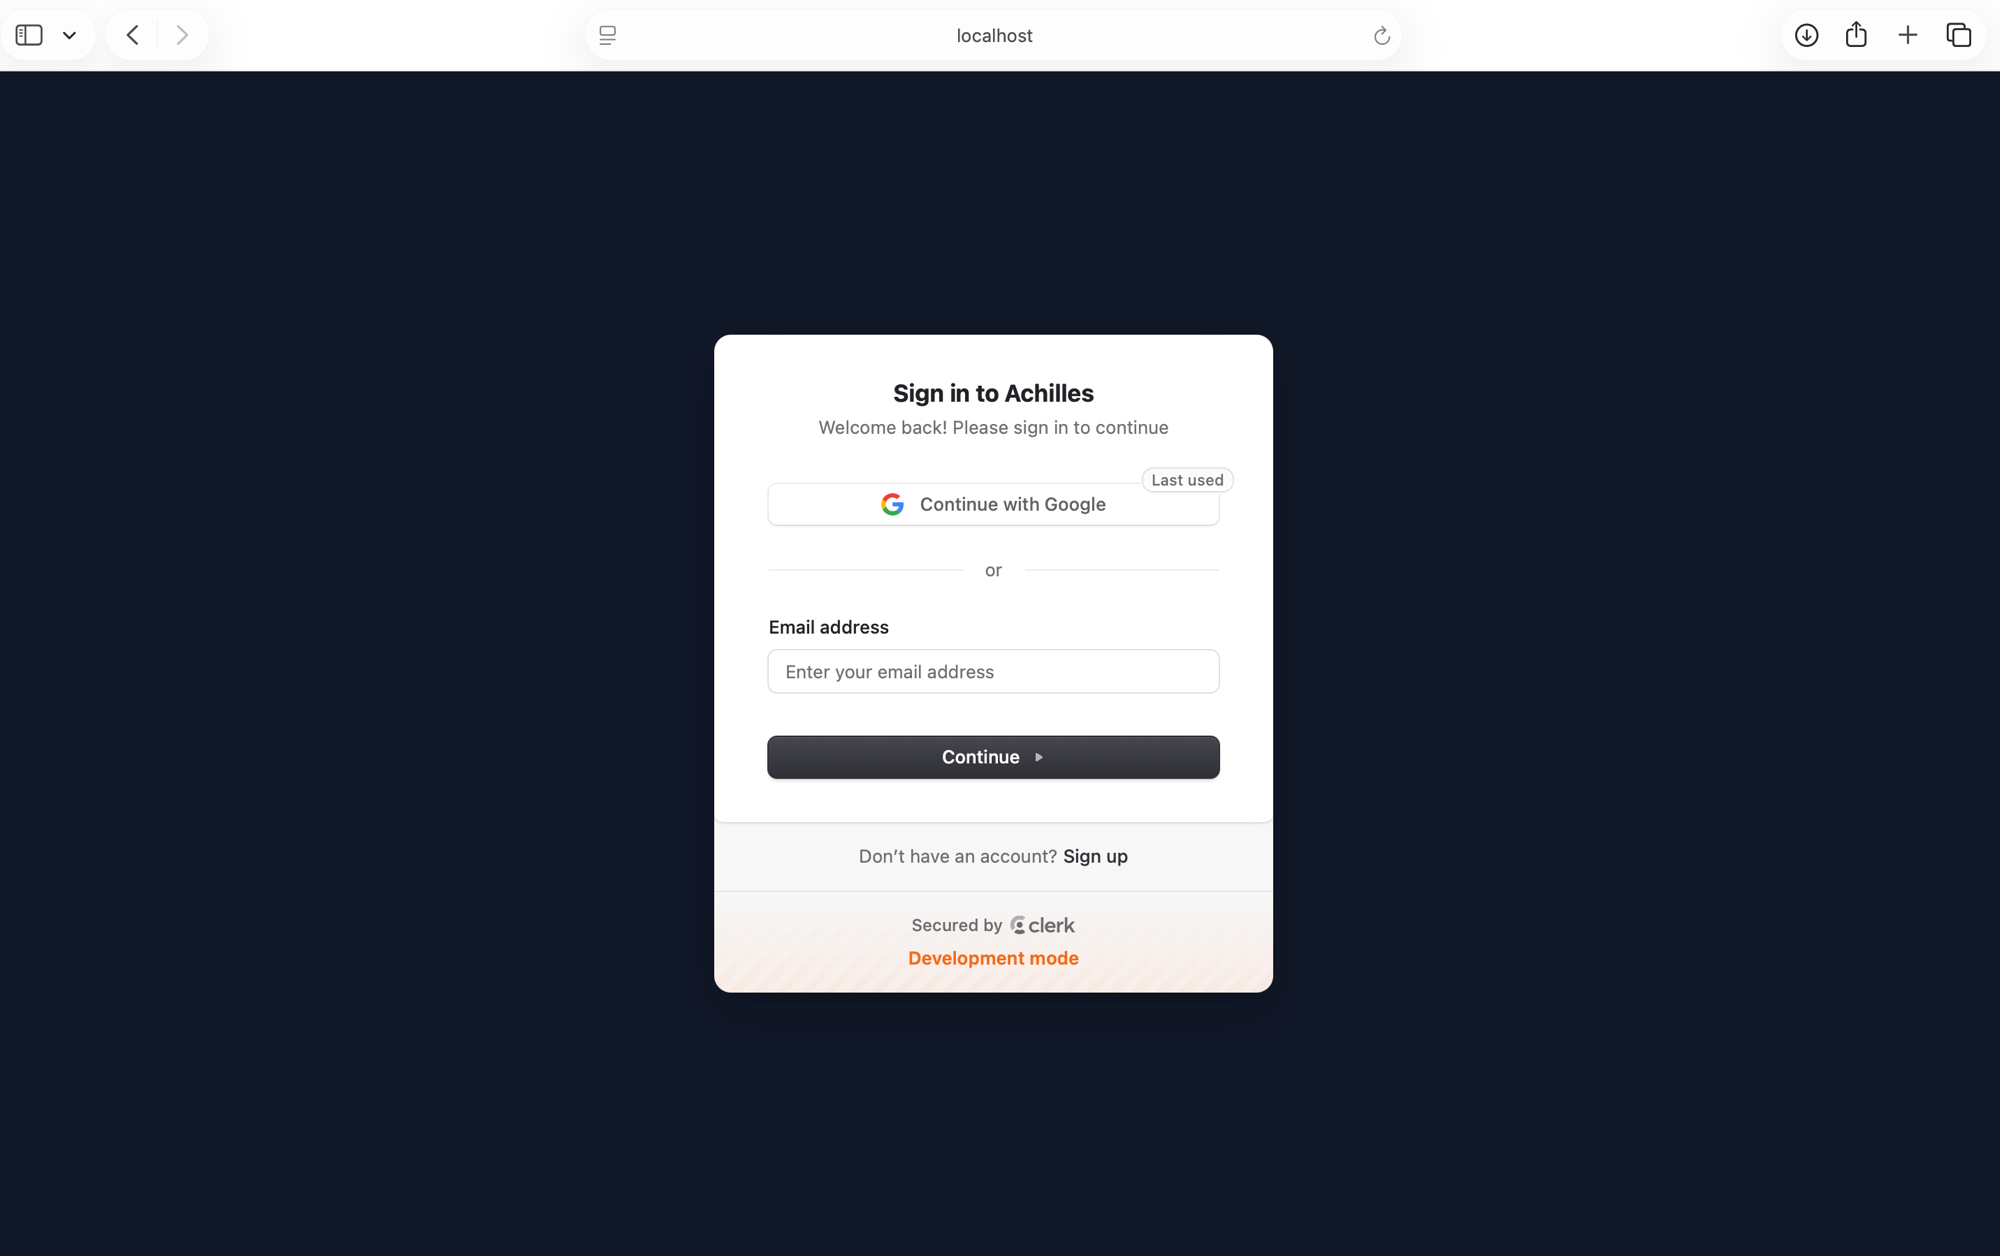
You will see Clerk's login modal. You have two options:
With Google: click "Continue with Google" — Clerk handles the OAuth automatically. This button appears if you left Google enabled in Step 2.
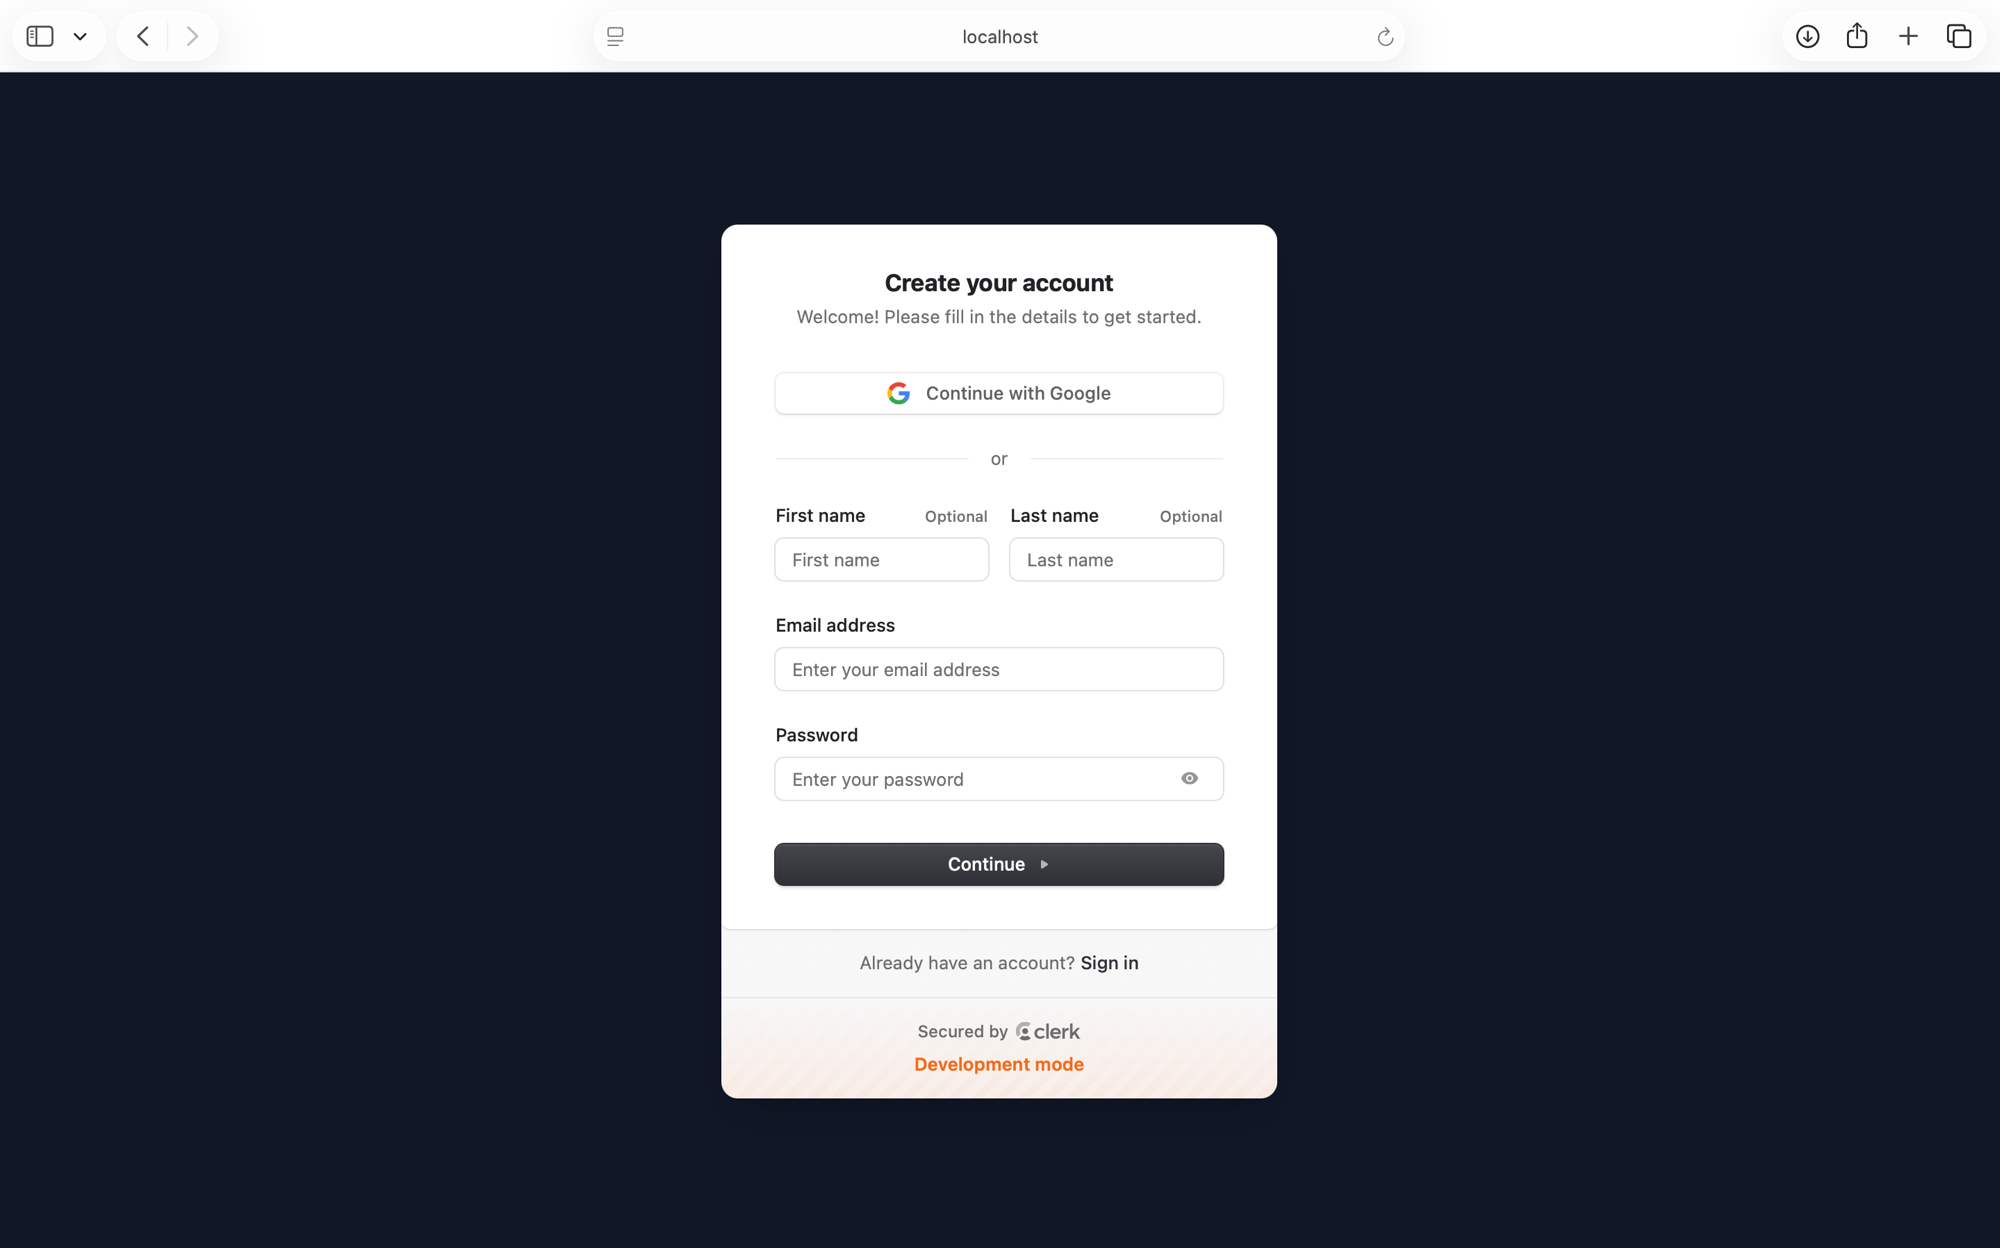
With email: click Sign up (at the very bottom), fill in your name, email, and password, and click Continue.
If you go with email, clicking Sign up shows the account creation form:
Step 6: Assign your administrator role
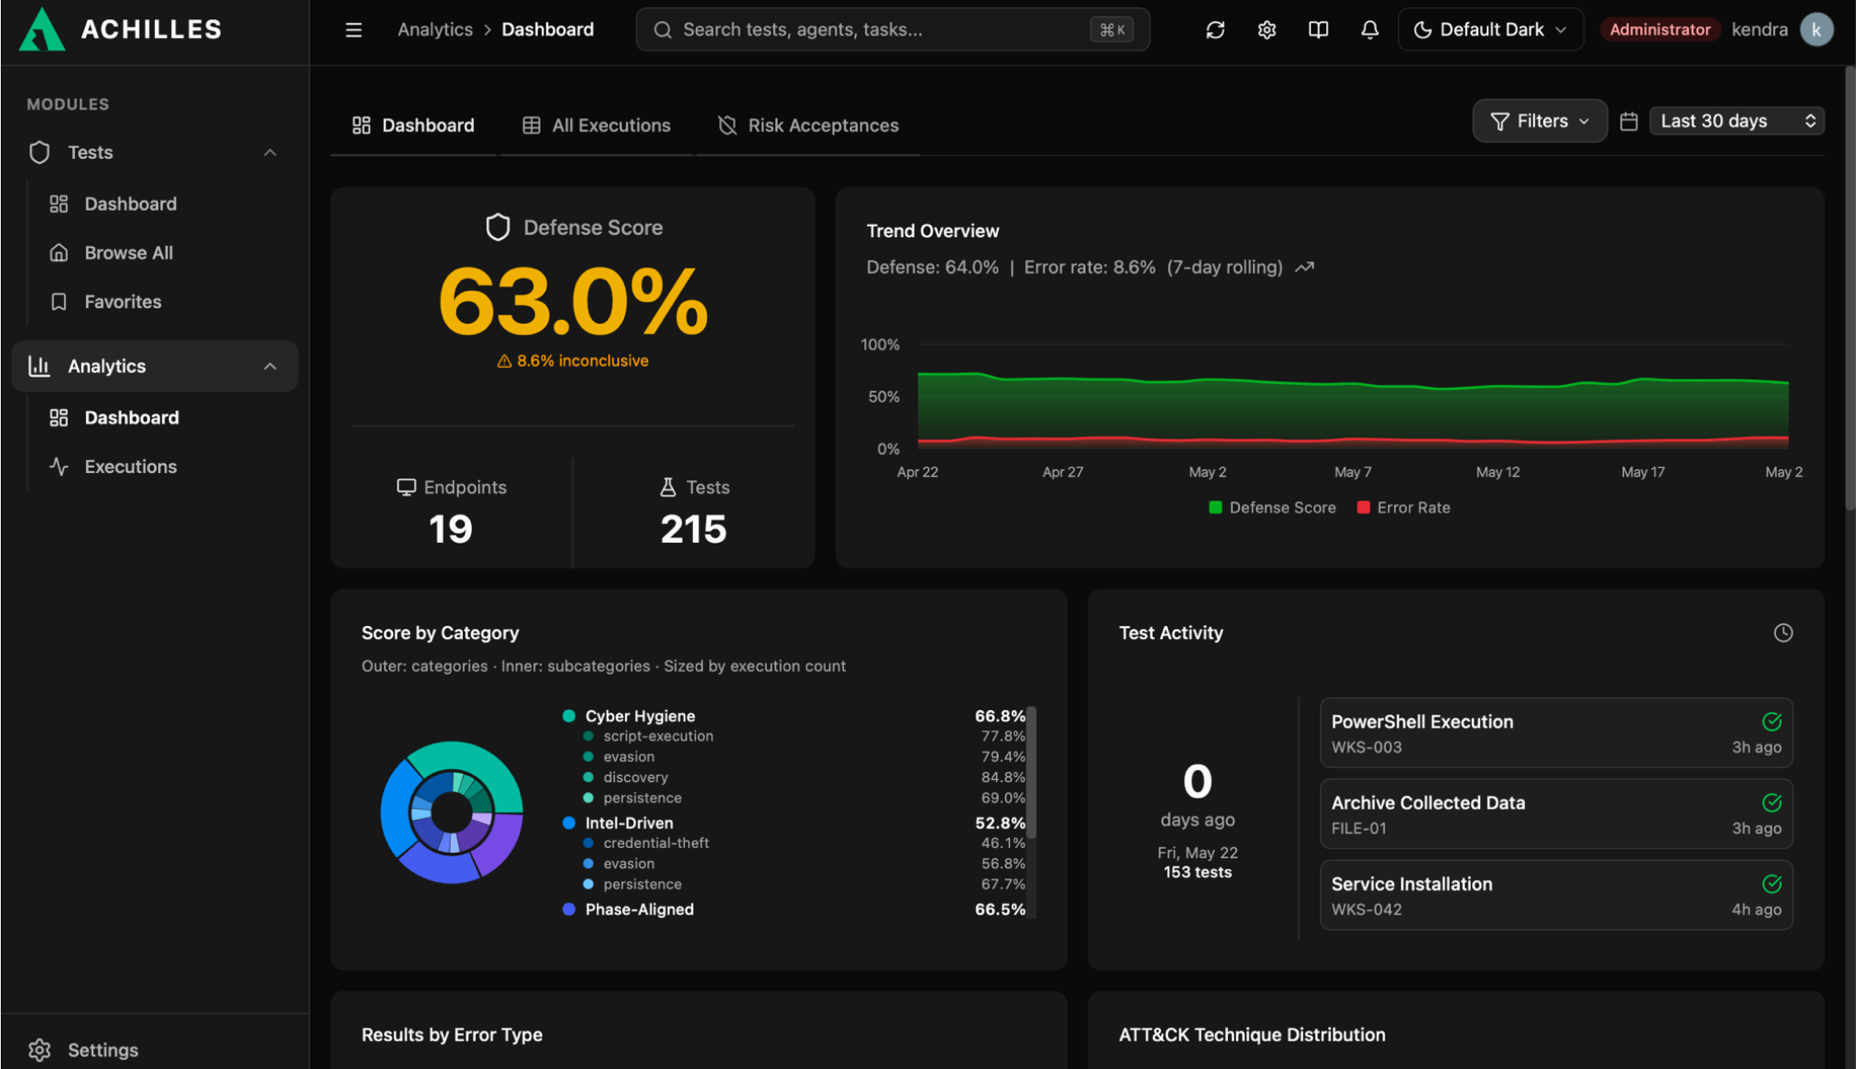
After creating your account you will see the dashboard, but the Endpoints module (where you enroll and manage agents) will be hidden:
This is normal — Achilles uses a role system and the first account gets no role assigned automatically. To enable all modules, assign the admin role to your user in Clerk:
You will see the Endpoints module appear in the sidebar with Dashboard, Agents, and Tasks:
Why do you have to do this manually? Achilles doesn't assign the admin role to the first user automatically, to prevent anyone who signs up from getting full access. You control who gets which access level from Clerk.
Step 7: Configure the Clerk Session Token
This step is required — without it, the role you just assigned never reaches the dashboard and Achilles keeps treating you as a user with no permissions.
Clerk issues a JWT (session token) the frontend reads to know which role you have. By default that token does not include the publicMetadata where you stored {"role": "admin"}. You have to add it manually:
In the Claims editor (it shows {}), replace the content with:
{ "metadata": "{{user.public_metadata}}"}
Click Save
Sign out of Achilles and sign back in
You will see the Endpoints module appear in the sidebar. If your session was already open when you assigned the role, signing out and back in forces Clerk to issue a new token with the role included.
Why {{user.public_metadata}}? It's Clerk's syntax for injecting the user's publicMetadata field into the JWT. The Achilles frontend reads user.publicMetadata.role from the token — if that field isn't in the token, the role doesn't exist as far as the dashboard is concerned, even though you saved it in Clerk.
Step 8: Verify Elasticsearch
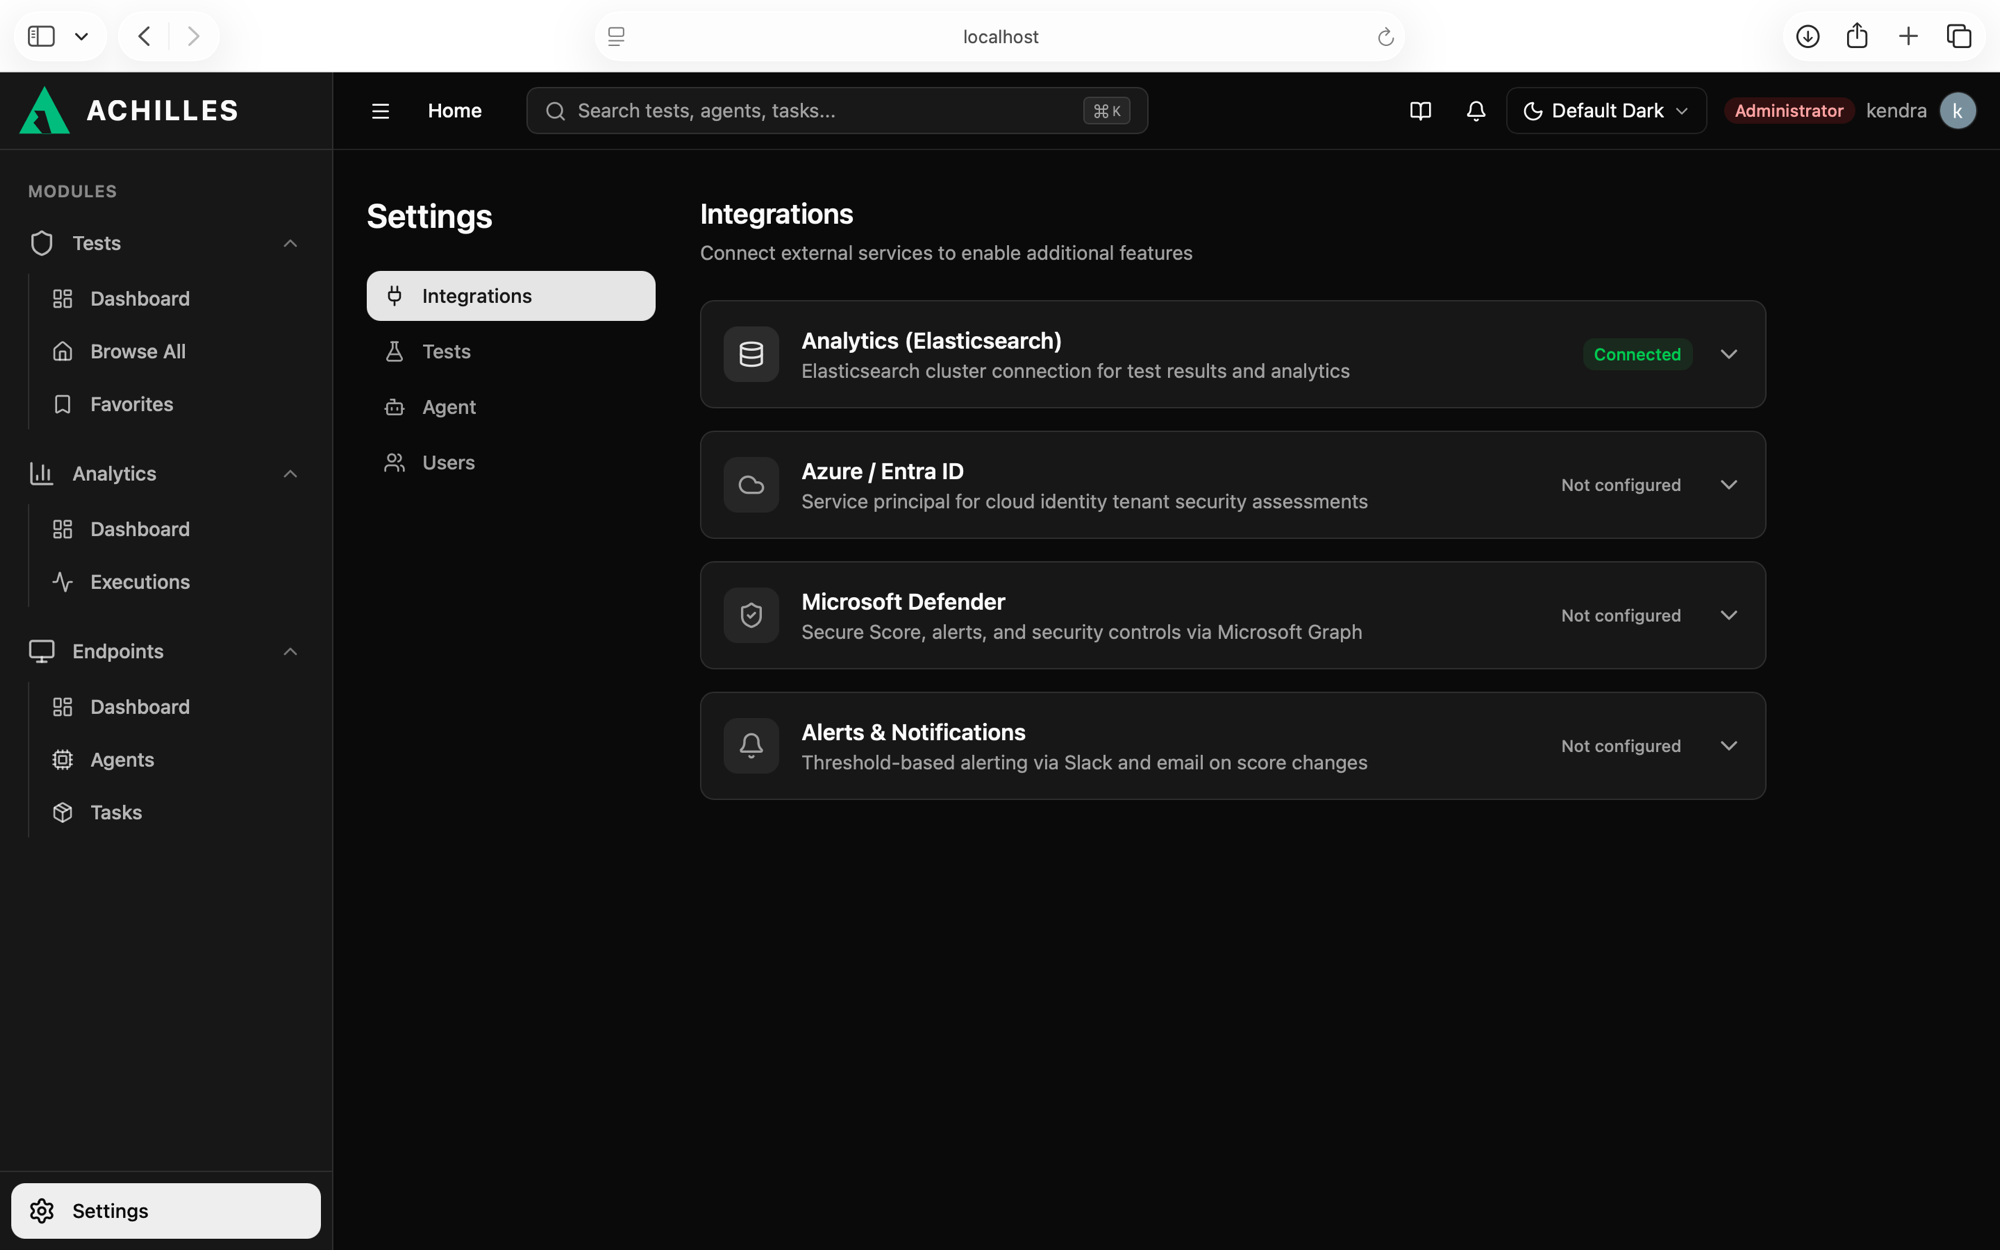
Go to Settings → Integrations. You should see Analytics (Elasticsearch) in Connected state — Docker connects Elasticsearch automatically on startup, you don't need to configure anything.
If for some reason it shows "Not configured", expand the card and enter:
Elasticsearch URL: http://elasticsearch:9200
Save and it should connect immediately.
Section 1B: Install on DigitalOcean (cloud VPS)
(If you chose Option A, local Docker, you are already done with Section 1A; skip to Section 2)
In your local terminal, generate a key if you don't have one:
ssh-keygen -t ed25519# Press Enter through every prompt to accept the defaults
Then copy your public key:
cat ~/.ssh/id_ed25519.pub
In DigitalOcean click "Add SSH Key", paste the content, give it a name (e.g. my-laptop), and click "Add SSH Key". Check the key's checkbox to select it.
If you prefer not to use SSH, select the Password tab and set a strong password.
Give the droplet a name (e.g. achilles-server) and click "Create Droplet"
Wait ~1 minute — DigitalOcean will show you the server's public IP (e.g. <public-IP>)
Step 2: Connect to the server
# From your local terminal (Mac/Linux) — use your public IPssh root@<public-IP># Windows: use PuTTY or Windows Terminal with:# ssh root@<public-IP>
Step 3: Install Docker, Git, and prepare the system
Why? Docker builds three images in parallel (frontend, backend, wiki). On a 1 GB server that process exhausts the RAM and the system kills the build midway. Swap works as backup RAM on disk — not as fast, but it keeps the build from failing.
Alternative: If you'd rather not deal with this, use the $12/mo plan (2 GB RAM) — Basic → Premium Intel → $12/mo. The build runs without issues and the dashboard responds faster with multiple active agents.
For security, the docker-compose.yml binds the ports to 127.0.0.1 (localhost) only. That's fine on a local machine where you are the only user, but on a VPS it means nobody can reach it from outside — not you from your browser, and not the agents trying to connect to the backend.
Edit the file to open the ports on all interfaces:
sed -i 's/127.0.0.1:3000/0.0.0.0:3000/g' docker-compose.ymlsed -i 's/127.0.0.1:80/0.0.0.0:80/g' docker-compose.yml
These two commands replace the localhost binding with 0.0.0.0 (all network interfaces), which is what you need for the server to be reachable from the internet.
Step 6: Create your Clerk account (free authentication)
Achilles uses Clerk for user login. It's free and requires no credit card.
Go to https://clerk.com → "Start building for free" and create an account
Create a new application:
Name: Achilles
Sign in options: leave Email enabled — it's enough to get started
If you enable Google, the "Continue with Google" button will appear on the login (optional)
Click "Create application"
Go to Configure → API Keys and copy these two values:
Publishable key: starts with pk_test_... — goes in the frontend and the backend
Secret key: starts with sk_test_... — backend only, never expose it
Step 7: Configure the environment variables
First create the .env files from the examples and generate the security secrets:
cp backend/.env.example backend/.envopenssl rand -base64 32 # for SESSION_SECRET (save the result)openssl rand -base64 32 # for ENCRYPTION_SECRET (save the result)
Then open the backend .env:
cd backendnano .env
Use Ctrl+W to search for each field. Edit only these 6 values:
Variable
Value
CLERK_PUBLISHABLE_KEY
your pk_test_... from Clerk
CLERK_SECRET_KEY
your sk_test_... from Clerk
SESSION_SECRET
result of the first openssl rand
ENCRYPTION_SECRET
result of the second openssl rand (uncomment the line by removing the #)
CORS_ORIGIN
http://<public-IP> — lets the frontend talk to the backend from outside
AGENT_SERVER_URL
http://<public-IP>:3000 — the URL agents will use to connect
Why CORS_ORIGIN and AGENT_SERVER_URL with the public IP?
Locally everything runs on the same machine and the browser reaches it via localhost. On DigitalOcean you access it from another machine — the backend needs to know which origin to allow (CORS) and the agents need to know which URL to connect to.
Save with Ctrl+X → Y → Enter.
Now configure the root .env (from ~/ProjectAchilles):
Why this file, and why at the end?
The root .env is read by Docker Compose on startup and passed to the frontend container as an environment variable. The frontend (React) needs Clerk's publishable key to show the login modal — without it the page loads but you can't authenticate.
The root .env.example doesn't include this field because in local installs the frontend usually runs outside Docker (with npm run dev) and reads its variables from somewhere else. In Docker you have to add it manually. It's the only line you need to add.
Step 8: Open the ports in the DigitalOcean firewall
In the DigitalOcean panel → your droplet → "Networking" → "Firewalls"
→ Create Firewall → add these Inbound rules:

  Type    Port      Source
  ─────────────────────────────────────
  HTTP    80        All IPv4, All IPv6
  Custom  3000      All IPv4, All IPv6

→ Apply the firewall to the "achilles-server" droplet
If you prefer using ufw from the server:
ufw allow 22/tcp # SSH — add this FIRST or you lock yourself outufw allow 80/tcpufw allow 3000/tcpufw enable
Step 9: Tune Elasticsearch memory
Elasticsearch ships configured to use up to 1 GB of heap — too much for a 1 GB server. Before starting, lower that limit:
sed -i 's/ES_JAVA_OPTS=-Xms512m -Xmx1024m/ES_JAVA_OPTS=-Xms256m -Xmx256m/' docker-compose.yml
Why? Elasticsearch is a Java database designed for servers with plenty of RAM. On a 1 GB VPS it competes with the backend, the frontend, and the operating system. With 256 MB of heap it works fine for normal use — if you have many agents or heavy queries, consider the $12/mo plan (2 GB).
Step 10: Start everything
docker compose --profile elasticsearch up -d backend frontend elasticsearch es-seed
Why not plain docker compose up? The wiki service (documentation) consumes too much RAM during the build on a 1 GB server and kills the process. It isn't needed to use Achilles — we exclude it by naming the services explicitly.
The first run takes 15-20 minutes because it builds the images from scratch. Subsequent starts take seconds thanks to the cache.
When it finishes, verify everything is running:
docker compose ps
You should see backend, frontend, and elasticsearch in Up or Healthy state.
Step 11: Open the dashboard
From your browser (on any computer): http://<public-IP>
You will see the Achilles landing page. Click SIGN IN to continue.
Login and account creation work the same as in the local install — follow the same steps from Step 5 of Section 1A.
Step 12: Assign your administrator role
Just like in the local install, after creating your account the Endpoints module will be hidden:
Follow the same steps from Step 6 of Section 1A ({"role": "admin"} in the user's Public metadata in Clerk).
Once the role is assigned you will see the full sidebar with Tests, Analytics, and Endpoints:
Step 13: Configure the Clerk Session Token
Just like in the local install (Step 7 of Section 1A), you have to add the publicMetadata to Clerk's JWT. Without this step the role you assigned in Clerk never reaches the dashboard:
In the "Customize session token" section, in the Claims editor, replace {} with:
{ "metadata": "{{user.public_metadata}}"}
Click Save
Sign out of Achilles and sign back in so the new token gets issued
Step 14: Verify Elasticsearch
Go to Settings → Integrations. You should see Analytics in Connected state — Docker connects Elasticsearch automatically, you don't need to configure anything.
If it shows "Not configured", enter:
Elasticsearch URL: http://elasticsearch:9200
Summary: Installing the Platform
OPTION A — Local (free):
  1. Clone repo + configure .env              (10 min)
  2. docker compose up                        (5 min)
  3. Create account + assign admin role       (5 min)
  4. Configure the Session Token in Clerk     (2 min)
  5. Verify Elasticsearch                     (2 min)
  Total: ~25 minutes

OPTION B — DigitalOcean (~$8/mo):
  1. Create Ubuntu droplet                    (5 min)
  2. Install Docker, Git, and swap            (5 min)
  3. Clone repo + edit docker-compose.yml     (3 min)
  4. Create Clerk account                     (5 min)
  5. Configure .env with the public IP        (5 min)
  6. Open firewall ports (SSH first)          (2 min)
  7. docker compose up                        (20 min first time)
  8. Assign admin role + Session Token        (5 min)
  9. Verify Elasticsearch                     (2 min)
  Total: ~40 minutes (+ 20 min of build in the background)
Key Takeaways
✅ Two options: local with Docker (free) or a VPS like DigitalOcean (~$8/mo)
✅ The platform includes the dashboard, backend, and Elasticsearch, all with a single command
✅ Sample data loads automatically when starting with --profile elasticsearch
✅ When you finish this post you have the dashboard running; the agent comes in QS-02
✅ The agent and the first test are covered in QS-02 and QS-04
Next Post
QS-02: "Connect Your First Machine"
Install the agent step by step on Windows, Linux, or macOS and make your first machine appear on the dashboard.